Word Decor DIY

We had such a fun-filled, busy, and eventful weekend!  Saturday was my birthday so we woke up early to open a few presents and Randy made me breakfast in bed.  We started off the weekend watching a few episodes of I Love Lucy, my brithday present from Randy and his Mom.  I then proceeded to get all of my grocery shopping done for the week, the health food store I shop at has big sales on Saturday’s so I always try to get my main goods for the following week, give or take the few items that always seem to come up as the week goes on.  I skipped my Saturday morning workout to enjoy a free birthday latte from Biggby.  Randy and I then joined some friends to help with a fun event they were putting on, the Amazing Race MSU style.  They modeled their game after their favorite show.  It was a great turnout with 8 teams participating and having fun battling it out for the win!  The day was finished spending time with one of our favorite couples, we went out to dinner to celebrate my birthday, bought and picked up our new car, and headed home to chill with a movie!!!
On Sunday we went to church and then got ready for a baby shower  for my friend Stella, I planned a Safari themed party together with my friends Erin, Greta, and Becky. It was such a fun afternoon, celebrating new life, spending time with friends, eating good food, and watching Stella open presents. 
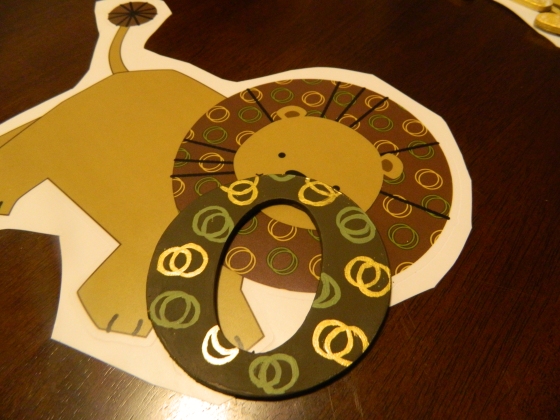
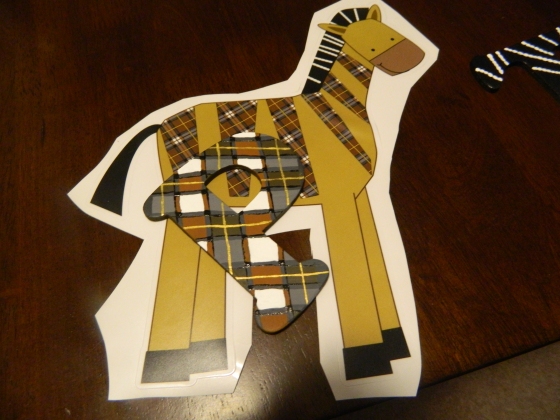
This fun craft below is a great idea for new babies, newlyweds, or just adding fun letters or words to accent a room.  This is one of the gifts I made for their baby, Preston.
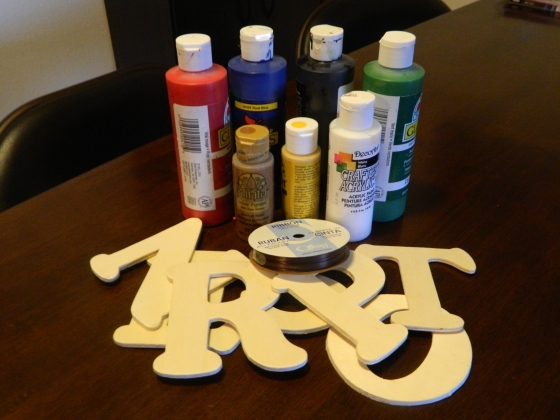
You will need: unfinished wooden letters~acrylic paint in assorted colors~assorted paintbrushes~wood or super glue~1 roll of skinny ribbon in matching color~ruler~pencil
1. Begin by priming front side and edges of wood with two coats of paint, when dry, paint one coat on the backside.  Painting the backside isn’t necessary if the project is for you, it just looks more put together when its a gift.  I mix colors myself to get the exact color but you can also find most colors you want at the craft store.
2. Choose which letters you want to paint. Begin painting prints on the letters you have chosen, I like to follow a pattern or design to get ideas.  For this occasion I was trying to match some patterns my friend was already using in her baby room.  I also chose to leave some of the colors solid.
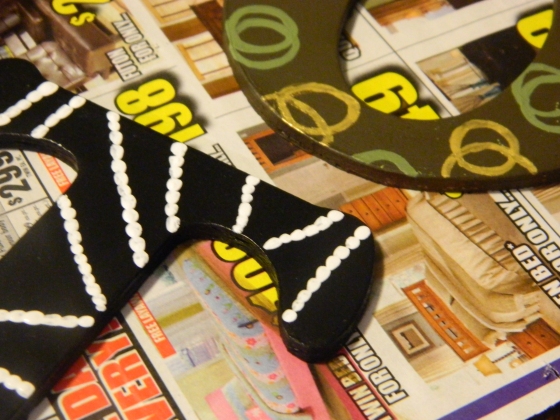
3. For any intricate patterns like plaid or stripes use a ruler to get more exact lines and use the smallest brush you have to make your lines more straight
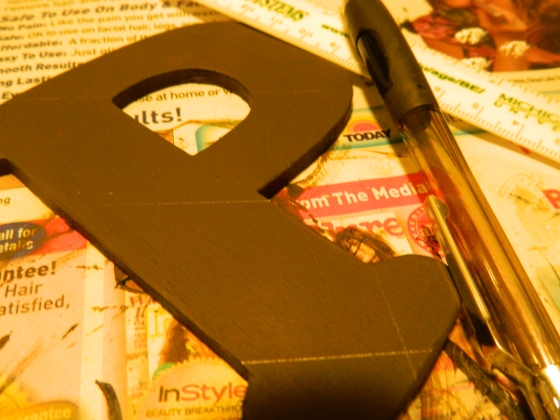
4. When paint is done drying, cut enough ribbon for each letter, 12 inches long each.
5. Near the top of the letter measure over to the center with a ruler and mark with pencil.
6. Fold the ribbon in half, put a dot of glue and secure folded point of the ribbon on the glue, use the edge of the ruler to push the ribbon into the glue. I left them untied so Stella could choose her length.
7. If you are keeping it for yourself tie into desired length knot or bow, its easier if you tie it around the nail you will use. Here is an example of a bow I tied:
The finished look:

Manic Monday-Lapis Edition

I am really loving the color lapis right now, it kind of has a bold neon affect that brightens up any outfit!  It can also be made as a focal point for any room!
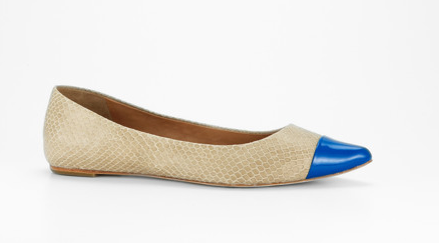
Pointy Flats
Accent Wall
Gold & Lapis Gemstone Necklace
Mezmerised
Textured Golden Cuff
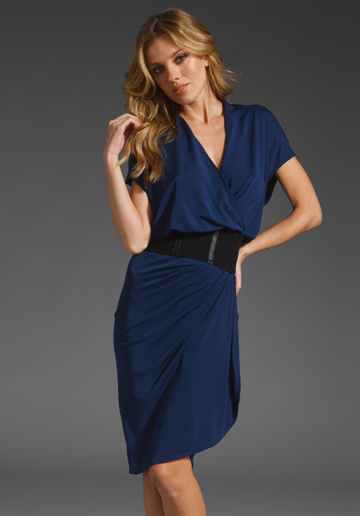
Slinky Belted Dress
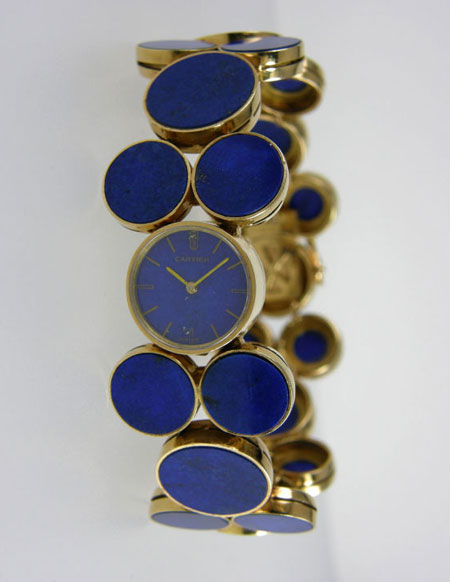
Vintage Cartier Watch (clearly a ridiculous priced item, but could be used as an inspiration piece)

Spring sales

After the winter/summer season I always try to get out to my favorite stores and do a little shopping.  There are always a few key pieces I look for and never pass up a really good deal for some fresh wardrobe updates.  Yesterday I stopped at Ann Taylor, Loft, & Banana Republic and found some serious steals.  I spent a total of  $121, bought 7 pieces and saved a total of  $396 off the original prices!!  The deets are as follows:
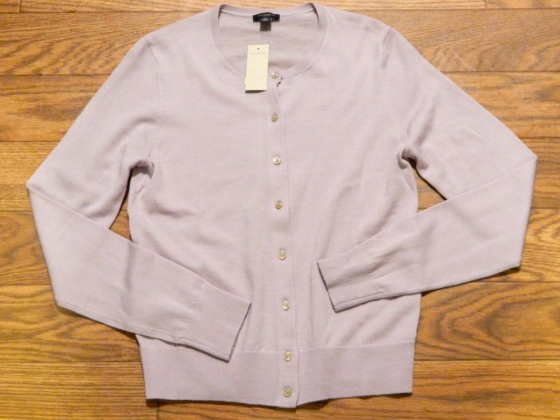
Ann Taylor merino cardigan: Original price-$78, I got it for 91% off
Ann Taylor Jacquard mini-skirt: Original price-98.00, was 86% off.
Winter white skirt: Original prics was $128, I saved 84% on this skirt.  They didn’t have my size in the regular section but I found one in the petite and just bumped the size up 1 and it fit perfectly!  I actually liked it better because petite skirts obviously run a shorter length so it made it a perfect length for summer.
Banana Republic color-block cardigan: Original prices was $59.50, I saved 68%.
Banana Republic silk button cardigan: Original prices was $59.50, I saved 66%. I know it seems a little odd to buy two cardigans in the same color but they are a little different style and I wear sweaters over a lot of outfits and knew I would get a ton of use out of both.
Banana ruffle T: Original price was $45.00, I originally would have saved 60%, but I found a small black mark under the armpit that looked like it could be washed out, so I took the risk, let the cashier know, and she gave me an extra 20% off, can’t beat that!Loft pleated front short sleeve top: Original price was $49.50, I saved 55%!  This shirt was very wide when I tried it on, but then I paired it with a skinny belt and it really put the look together!  
I highly recommend checking out the sales after each season, you never know what kind of serious deals you might find.  These stores are my go-to places for collecting my key pieces, because of the high quality, I am usually willing to invest more on these.  Although this time I didn’t need to!  


Spring/Summer 2012 Inspiration Board

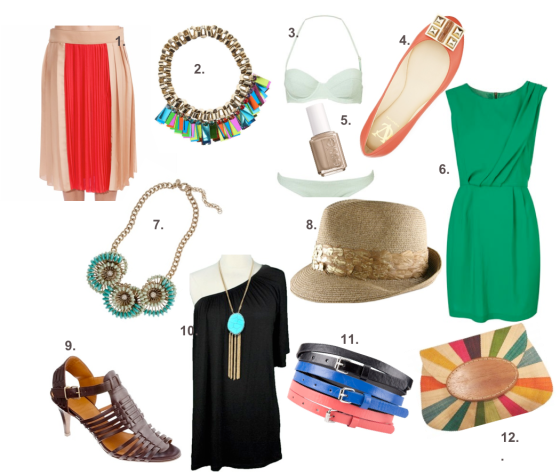
Here are the colors and styles that are inspiring me as I get ready for the new seasons:
1.Color block pleated skirt-barneys 2.Neon statement necklace-bimba y Lola 3.Mint gingham bikini-topshop4.Coral flats-vince camuto 5.Camel beige polish-essie 6.Green shift dress-topshop 7.Cactus flower necklace-jcrew 8.Gold feather fedora-eugenia kim 9.Weaved sandals-jcrew 10.Black asymmetrical dress-vestique 11.Assorted bold skinny belts-tilly’s 12. Multi-colored clutch-coquese